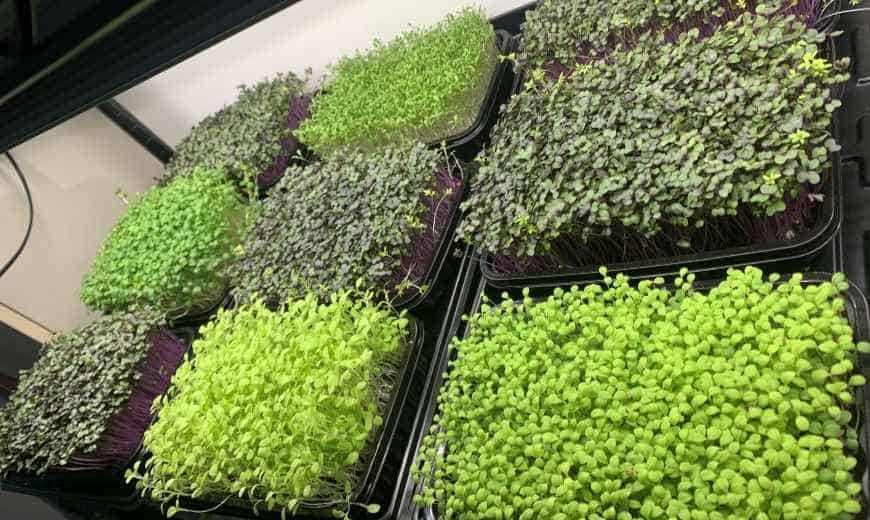
Microgreens are young seedlings of edible vegetables and herbs, and are typically a week to two weeks old when they are harvested. In this article, we will present the growing conditions for microgreens, benefits of microgreens, materials required, and a step-by-step guide on how to grow microgreens.
Growing Conditions for Microgreens
Singapore has a climate that is very conducive for microgreen growth, which is one of the reasons why growing microgreens is an easily cultivatable hobby and health endeavor. The conditions required are:
- Lots of natural light (artificial light can be used as a substitute)
- High humidity; adequate moisture
- Sufficient airflow, to prevent mould growth due to excessive moisture
What the Benefits of Growing Microgreens Are
Increasingly, more people are beginning to see the merits of growing their own vegetables. For microgreens, besides satisfying peoples’ desire to easily learn how to grow their own plants, they are also:
- Quick to grow
- Able to be harvested anytime
- Good sources of nutrients, containing 4 to 6 times more phytochemicals and vitamins than regular vegetables for the same quantity
- Good sources of fresh and hygienic food
- Since we’re the one who plant it, we can make sure the food is safe
What You Will Need to Begin
Growing microgreens is an extremely uncomplicated task, and only requires a few common items which are not difficult to obtain. You will need:
- A shallow tray
- Soil-less, peat-based potting mix; Regular soil can be too dense for the microgreen roots to penetrate easily
- Microgreen seeds; they germinate faster than regular seeds. Just look for seeds that are labelled as “Microgreen seeds”
- Water Spray-bottle
Step 1: Preparing the potting mix
Fill up the tray / container with the potting mix. Using the water spray-bottle, moisten the soil and make sure it is relatively moist through and through.
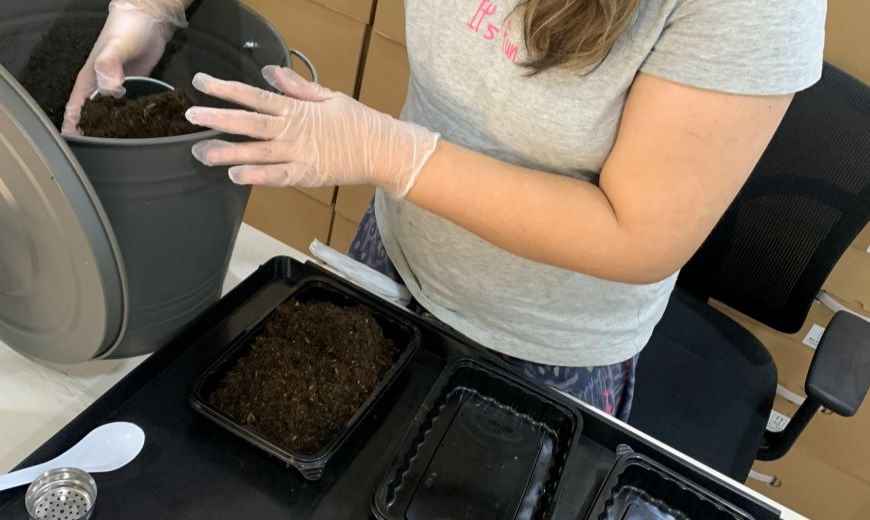
Be sure to not add too much water, as you want the potting mix to be loose enough for the roots to penetrate, and for oxygen to flow through.
Step 2: Plant ’em seeds
Using your hands or a spoon, make sure the seeds are spread thinly and evenly all over the surface of the soil.
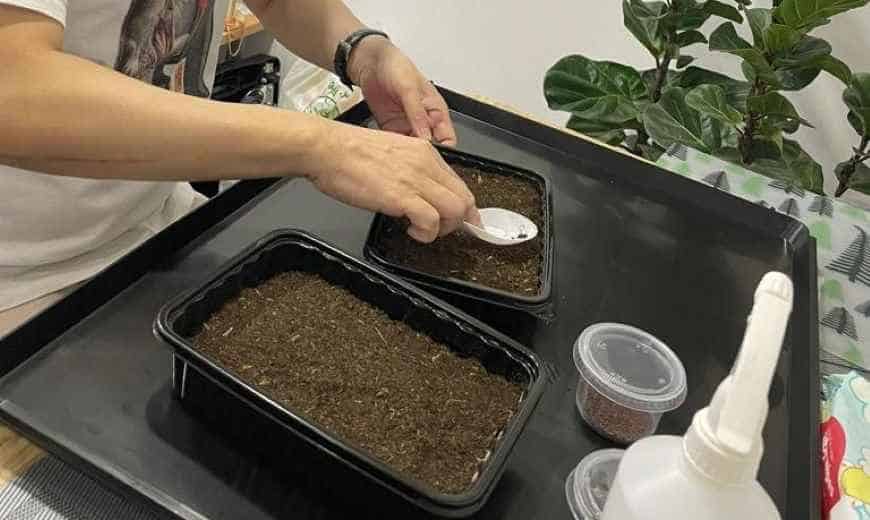
Thereafter, moisten the seeds, this ensures they get the water they need for germination, and that they adhere to the soil.
Step 3: Let it germinate
At this stage, you want to make sure that the seeds are not exposed to light. You can place a cover over the tray, or place the tray into an opaque box.
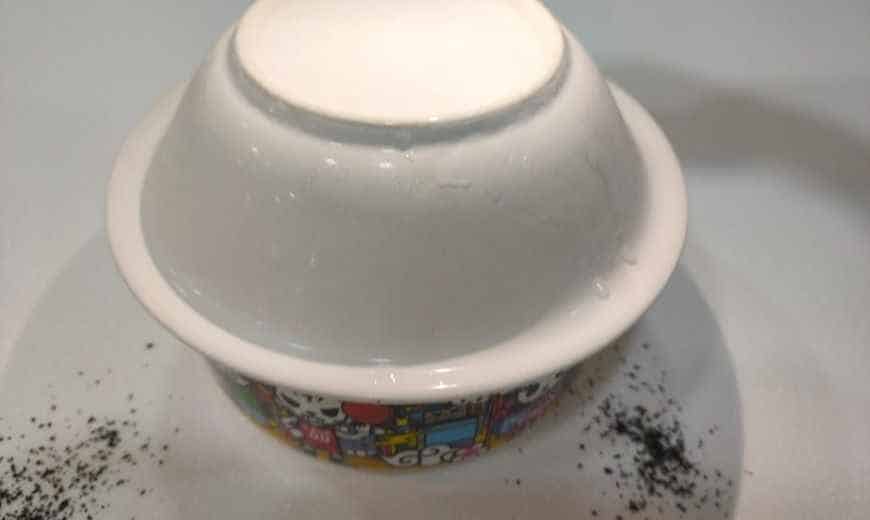
Leave the seeds be for 2-5 days. Depending on the type of seed, they may germinate slower or faster.
Step 4: Help it grow
Once your seeds are germinated, place them under a light source. If you are placing them under the sun, make sure it is at an area where the sun isn’t too strong, otherwise you could risk your seedlings becoming sunburnt. You should aim to expose your seedlings to sunlight for 5-6 hours a day; or 10-12 hours a day for artificial light.
Water your seedlings once or twice a day, maintaining the moisture of the soil.
You want to make sure that your seedlings are placed in an area that has good airflow. This prevents the build up of excessive moisture between the seedlings, which could cause mould to grow.
Step 5: It’s harvest time
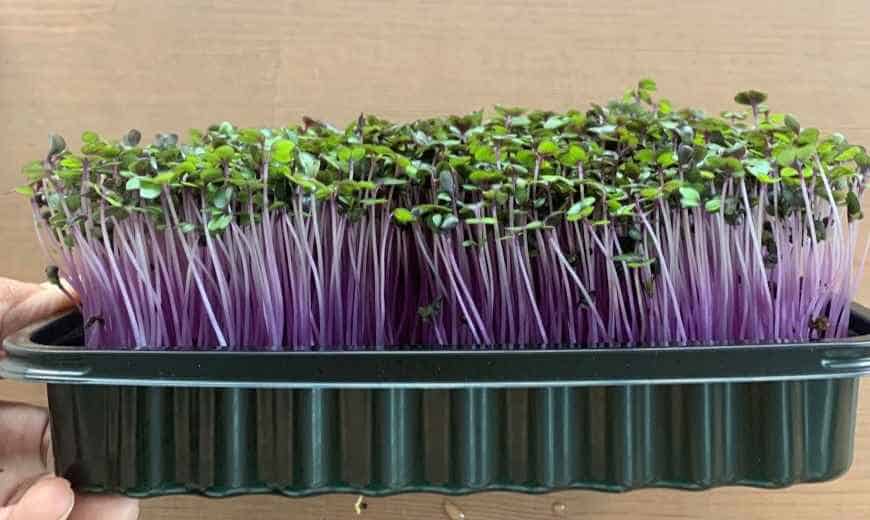
When your seedlings all begin to sprout their first leaves, it means it’s time to harvest them. Usually, it will take between 1 – 3 weeks to reach this stage. Using scissors, snip the microgreens just above the soil line.
Get Proper, Guided Learning from Experienced Growers
Of course, sometimes growing something can be harder than it first seems. It’s one of those things that we think will be super easy, but once we start, we realise that the success of our plant growth project could depend on many other factors. If you want to understand the best way to grow your microgreens, with step-by-step guidance and troubleshooting by experienced growers, sign up for our course on growing your own microgreens at home.